The solar installation process might seem complex, but understanding each step helps you prepare and set realistic expectations. Here's a comprehensive walkthrough.
Pre-Installation: Assessment and Planning
Step 1: Initial Consultation (1-2 weeks)
- Discuss your energy goals
- Review your electricity bills
- Assess your roof condition
- Answer questions about your property
Step 2: On-Site Assessment (1 week)
- Structural evaluation of roof
- Shading analysis and sun exposure
- Electrical system review
- System design based on your needs
Step 3: Quote and Contract (1-2 weeks)
- Receive detailed system proposal
- Review financing options
- Sign installation agreement
- Finalize timeline
Permitting and Preparation
Required Permits
- Electrical permits
- Building permits
- Utility interconnection approval
- Local inspection scheduling
Typical Timeline: 2-6 weeks
The timeline varies by location. Expect longer processing in areas with high solar adoption.
Installation Day
Pre-Installation Checks
- Weather confirmation (must be dry)
- Equipment delivery verification
- Safety briefing with crew
- Property preparation
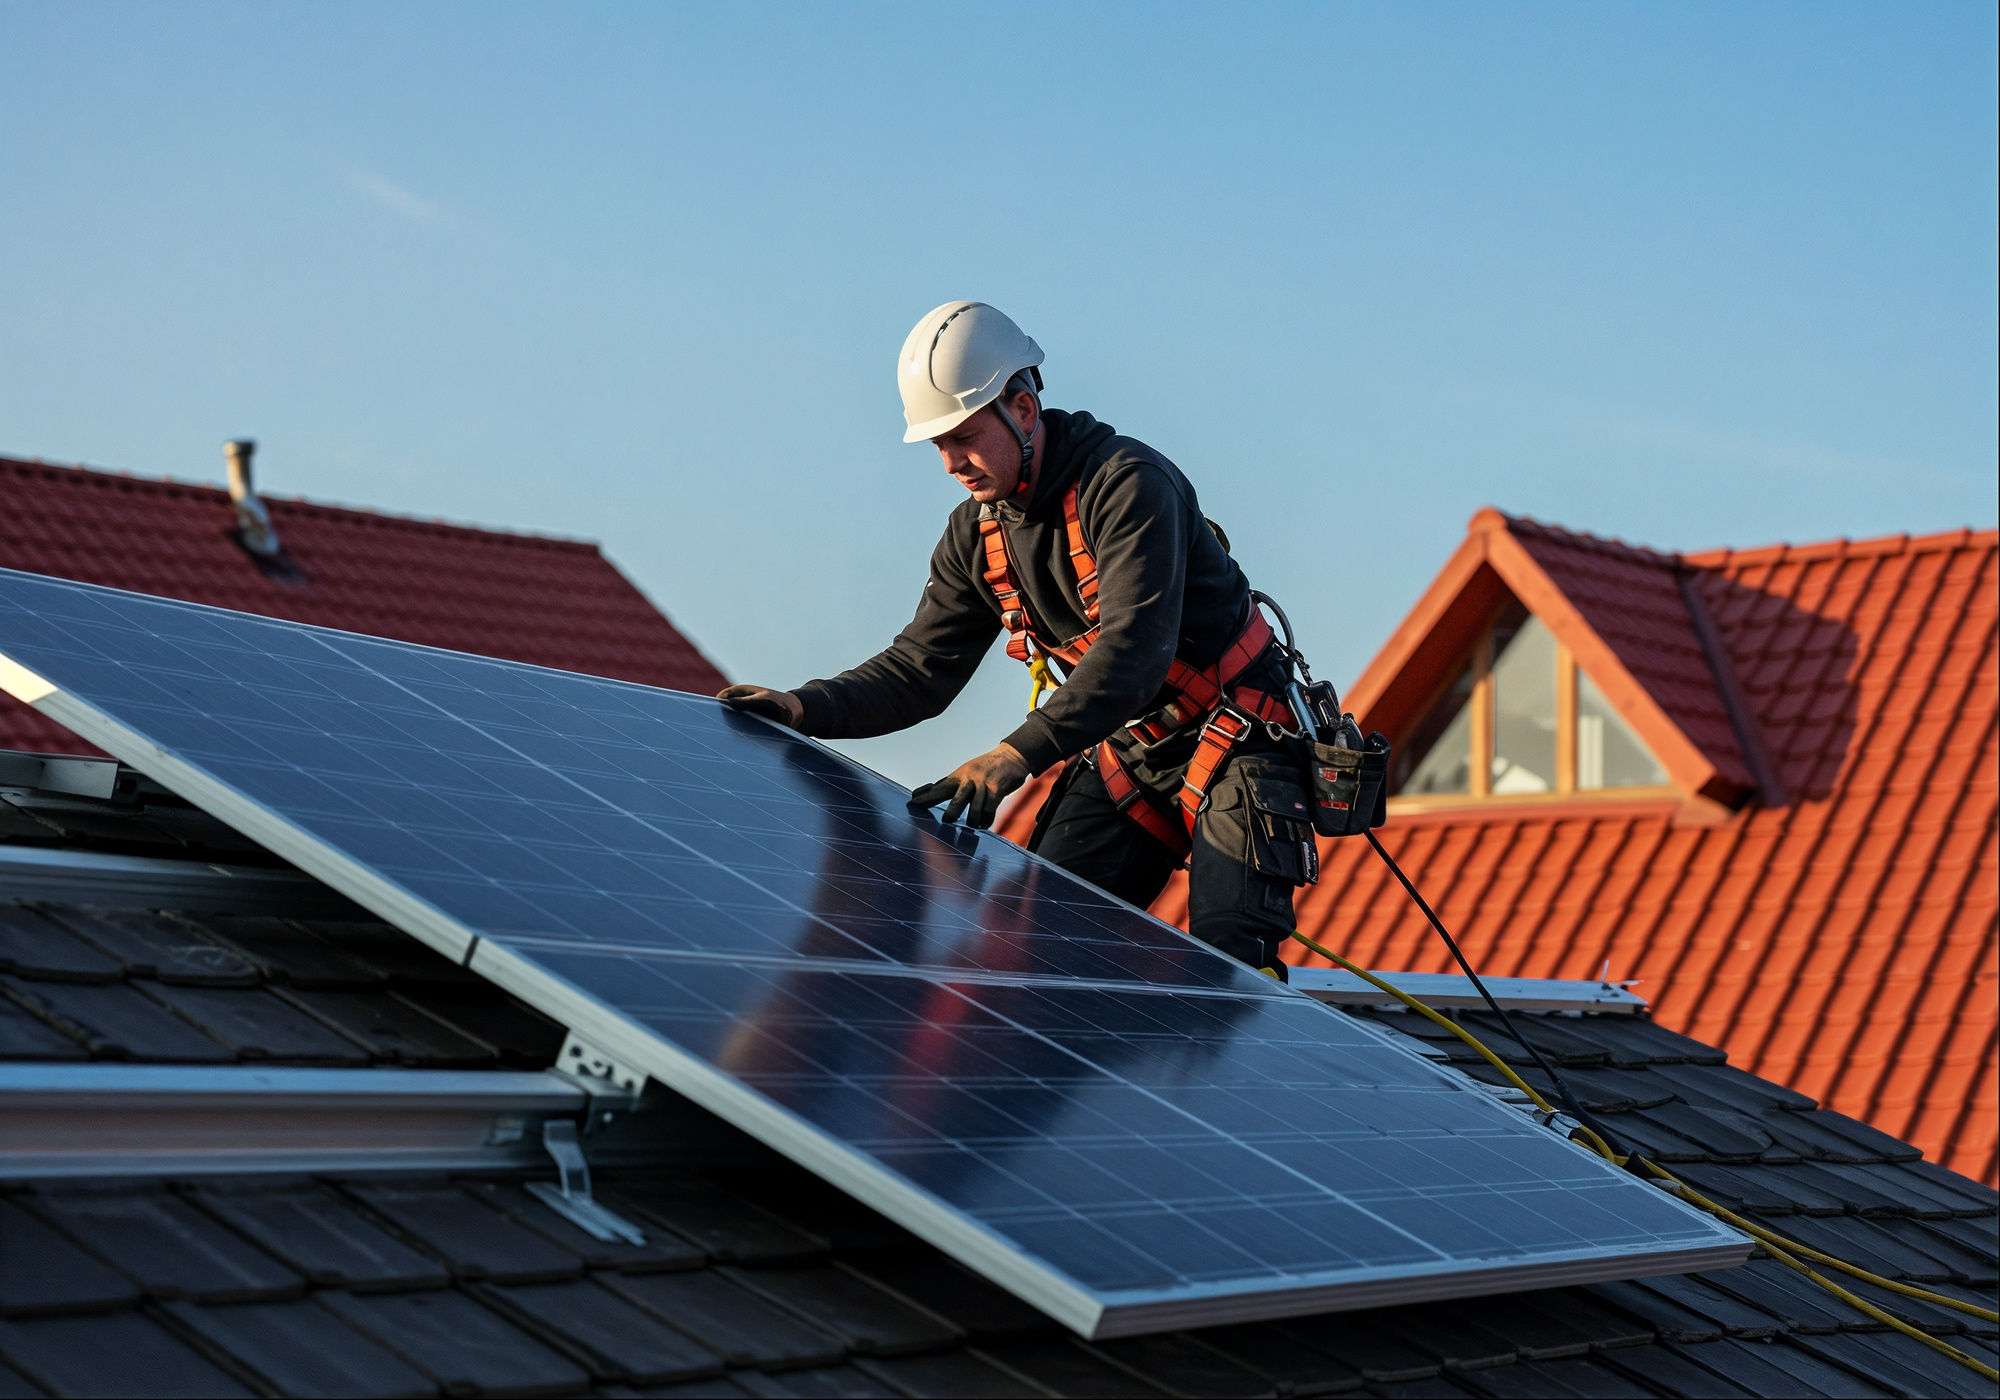
Installation Steps (1-3 days)
-
Roof Preparation
- Install mounting hardware
- Install flashings and weatherproofing
- Ensure all connections are secure
-
Panel Installation
- Attach panels to mounting system
- Make electrical connections
- Install wiring and conduit
-
Inverter Installation
- Mount inverter (typically on garage or wall)
- Connect DC wiring from panels
- Install AC wiring to electrical panel
-
Safety Equipment
- Install disconnect switches
- Combine and install grounding system
- Install monitoring hardware
Safety During Installation
- Certified, insured technicians
- Proper fall protection equipment
- Electrical safety protocols
- Property protection measures
Post-Installation: Inspection and Activation
Step 1: Initial Inspection (1 day)
- Verify all connections
- Check equipment placement
- Confirm system functionality
- Address any deficiencies
Step 2: Utility Inspection (1-2 weeks)
- Local electrical inspector visits
- Tests system safety and code compliance
- Inspection report to utility company
Step 3: Utility Approval and Activation (1-4 weeks)
- Utility company installs net meter
- Utility interconnection approval
- System goes live and starts producing power
- You begin accumulating credits for excess power
Monitoring and Optimization
Getting Started with Your System
- Receive app/portal login for monitoring
- Learn to read your system performance
- Understand your production goals
First Year Operations
- Get familiar with seasonal production
- Monitor monthly bills and credits
- Schedule quarterly cleanings
- Verify performance against projections
Timeline Summary
- Assessment to Contract: 2-4 weeks
- Permitting: 2-6 weeks
- Installation: 1-3 days
- Inspections: 1-2 weeks
- Utility Activation: 1-4 weeks
- Total: 2-4 months from start to activation
Common Questions
Will my power go out during installation?
Your system is isolated from the grid during installation. Power outages are rare unless required for electrical work.
What about roof damage?
Professional installers use industry-standard practices to protect your roof. Proper flashing and weatherproofing ensure no leaks.
Can I do this myself?
While possible, solar installation requires electrical expertise and permits. Professional installation is recommended for safety and warranty protection.
Conclusion
Understanding the installation process helps you prepare and maintain realistic expectations. From assessment to activation, the journey to solar energy typically takes 2-4 months. Once installed, your system will provide clean energy for 25-30 years.